Research Notebook
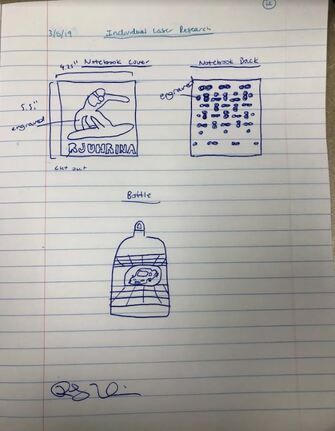
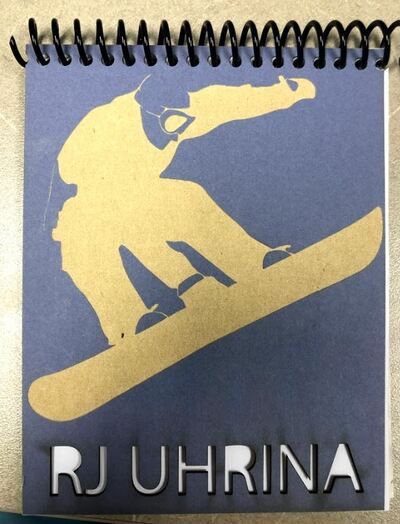
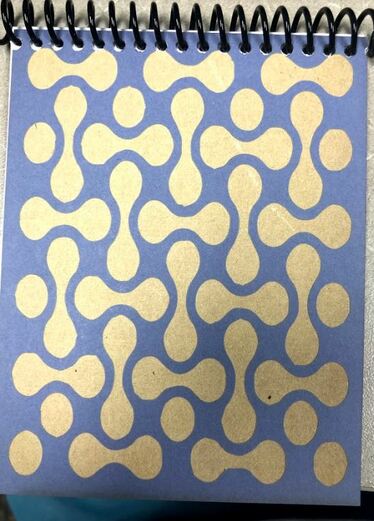
Here are my ideas that I'm going to create. To create my notebook cover, I first created an work space that was about 12 x 5 inches. Then I created two boxes that were 4.25 by 5.5 inches. For the design of my notebook cover, I found a clip art image on google of a snowboarder and a black and white pattern , and I image traced it in the black and white setting. I ignored the white background and expanded it. After I resized and centered the images I typed my name and made it into a shape by creating outlines.
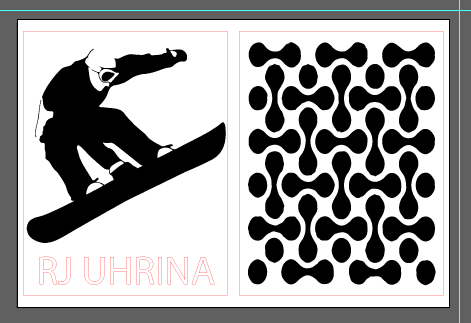
Here's my Notebook Cover that was made in Illustrator. I chose to cut out my name and obviously the two covers, which meant I had to change the stroke of the shape to .0001 red. Then for everything I wanted to engrave I made all the other shapes black.
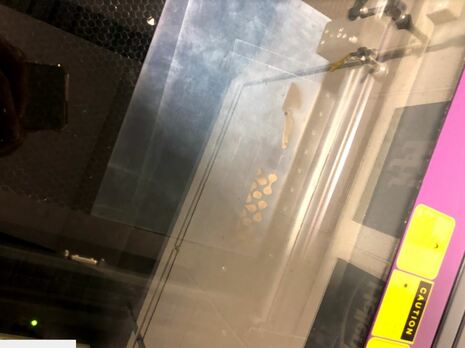
This is a picture of my notebook cover getting engraved.
|
|
This is the final product! To bind everything together, I had to first hole punch both Notebook covers. Then I grabbed 5 pieces of paper and cut them into fourths, to get 20 pages in my notebook. Next I grabbed a plastic notebook coil and started to rotate it through the holes. To keep the coil from moving I cut it to the correct length with wire cutters, then I grabbed a needle-nose pliers to bend the ends in so the coil would not come out.
Next, My Engraved Water Bottle
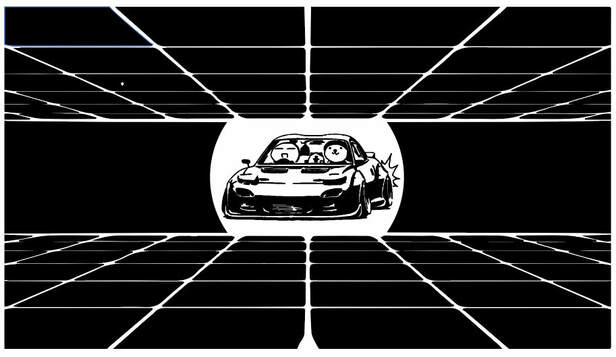
This is the design I came up with to engrave my water bottle. It is pretty similar to the last project, I image traced the car and the grid background, then I expanded them into shapes, oh and of course I ignored the white.
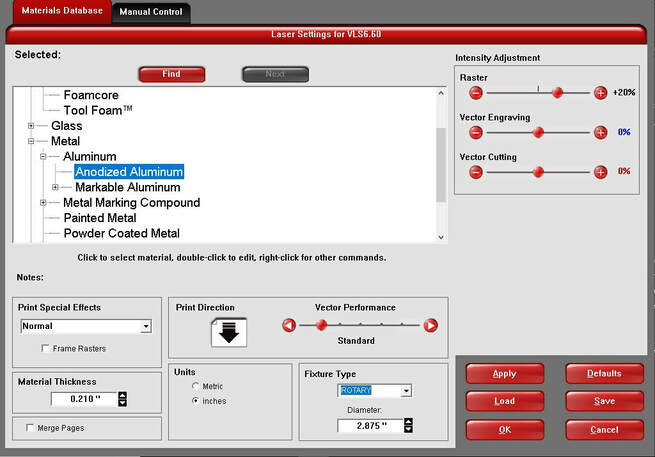
After hitting print I went to setup my water bottle design in the UCP software. I had to choose anodized aluminum so that the laser would only take the top coating off of the water bottle. Then I changed the fixture type to "rotary." For the thickness of the bottle, I measured the diameter with a dial caliper.
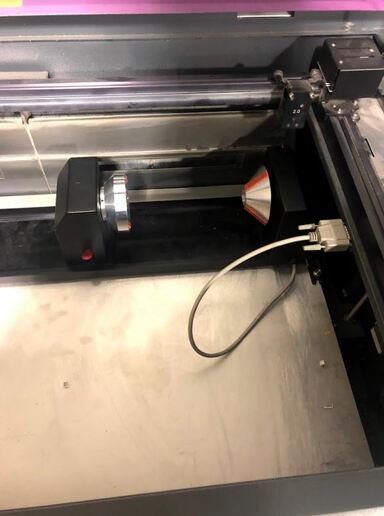
I made sure the laser was turned off, so I could set up the rotary jig. I opened the laser bed and removed the tray. Next, I put the jig in the top right corner of the bed and made sure it was secure by putting it over the bolts. Then, I plugged the cord into the laser, and put my water bottle in.
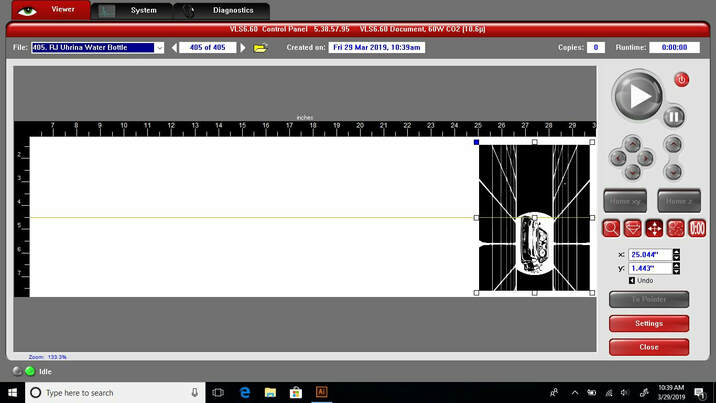
After setting up the rotary jig, I turned on the laser and inserted my design into the UCP Software. I used the pointer, to align the top of my design to the top of my water bottle, by using the align to pointer button. Then I checked to see if my design was still on the bottle by moving the pointer to the bottom of my design. Finally, it was time to press the play button and let the laser engrave my water bottle.
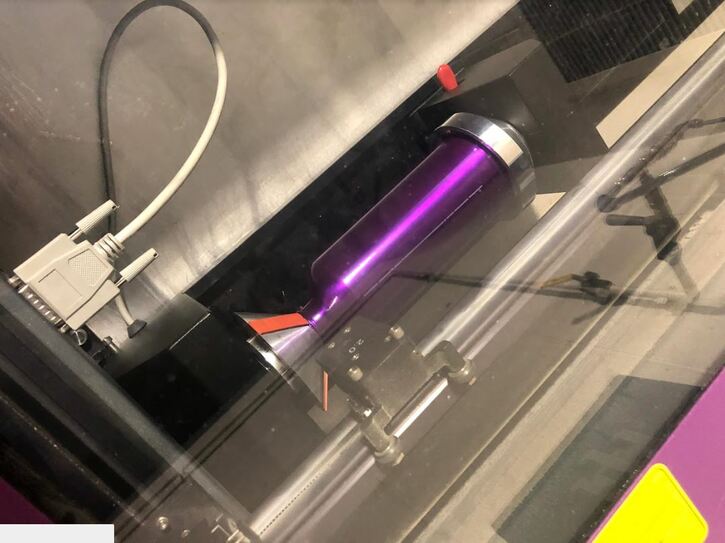
My bottle getting engraved by the laser.
Here is the final product!
Thingiverse Item
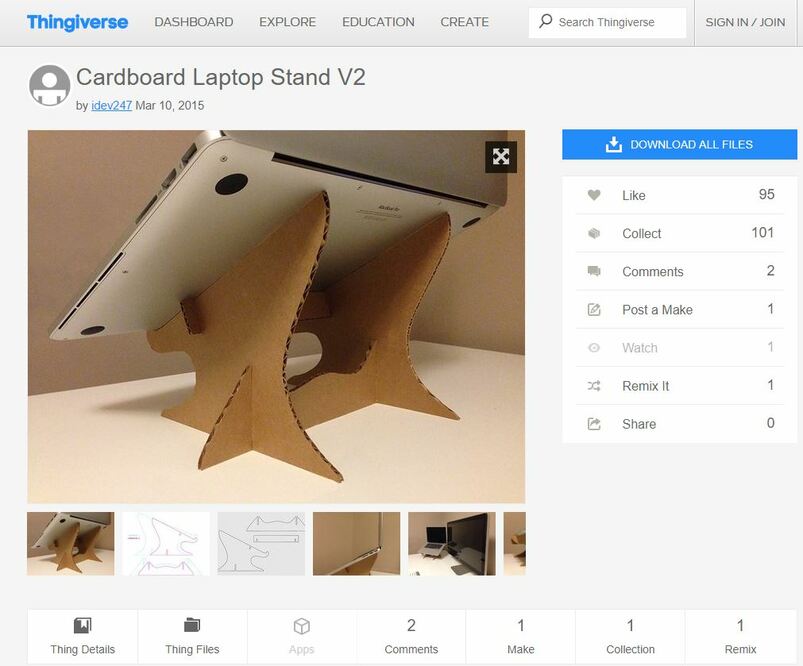
When I went onto thingiverse I saw some real cool things but I could never see myself using some of these items. It took me a while to find what I was doing but the laptop/chromebook holder was perfect. I downloaded the file from thingiverse and I opened the files in illustrator.
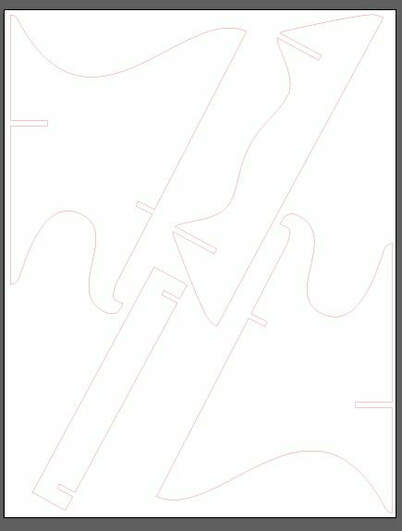
This item was super easy to create, because all I had to do was rearrange the parts to fit on one artboard. Then after they were rearragned, I selected all of the shapes and changed the stroke to .0001 red.
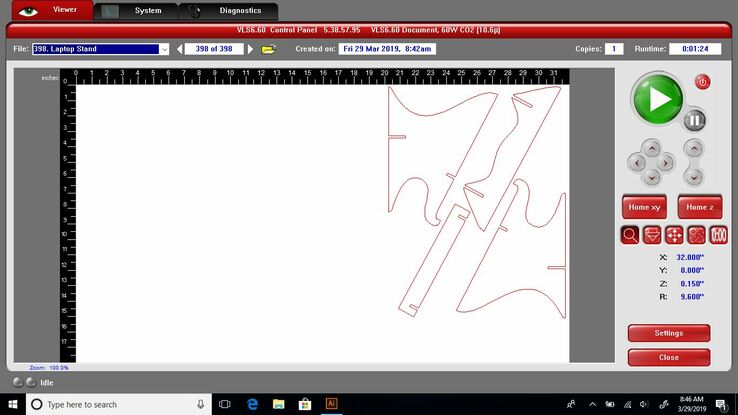
I then inserted the design into the UCP software. When setting it up I made sure to measure the thickness with the dial caliper and select foamcore as the material type. I went ahead and aligned my design in the top right corner and made sure that the design would fit on my piece of cardboard. Next, it was time to print so I shut the lid and began to cut out my thingiverse item.
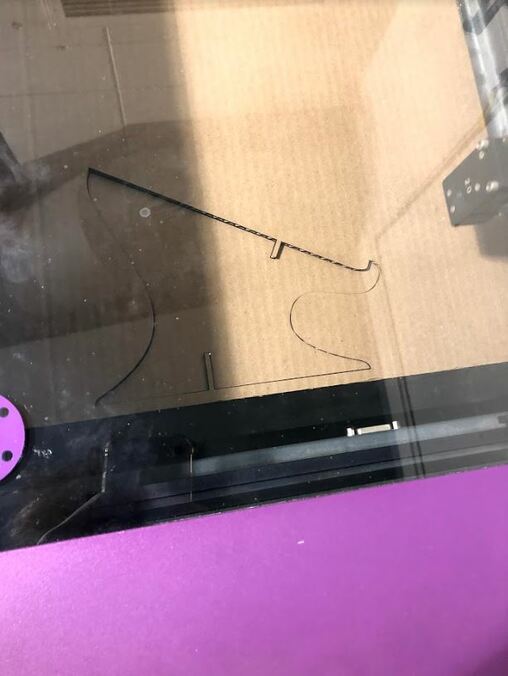
Here is a picture of when the laser was in action!
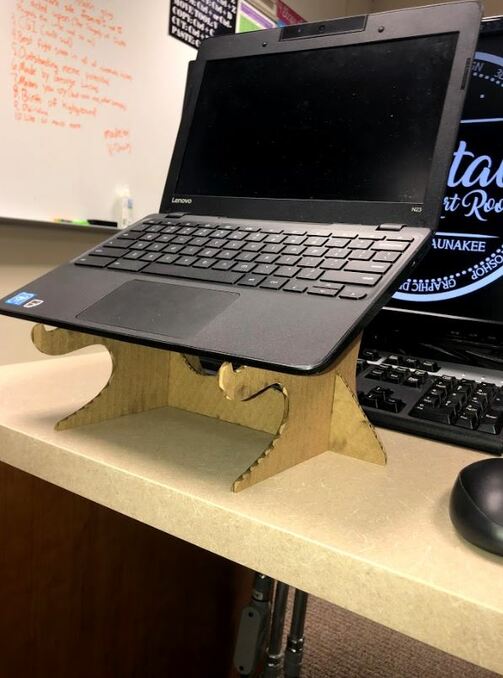
The final product!
Summary
In this laser rotation, I learned that it is really easy engrave and cut out objects. When we first started the rotation, I was a little nervous because Ms. Proctor told us if we mess up we could break the laser. I was a little hesitant at first but now I feel like I could print anything on the laser. Overall I just thought it was very cool that I could see a blank canvas that can get cut out/engraved into an object.
