
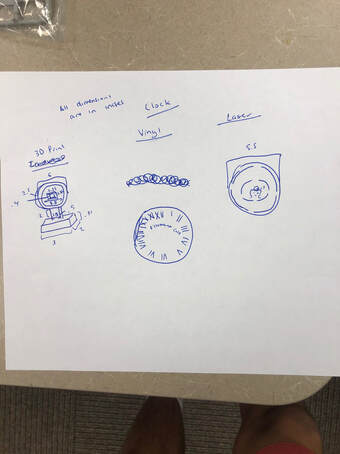
Here is my idea for the clock. I create the base in Inventor, and then 3D print it. Next, I will design the clock wheel in Illustrator. I will first use the laser to engrave my wheel, then I will use vinyl for the roman numerals and my nickname.
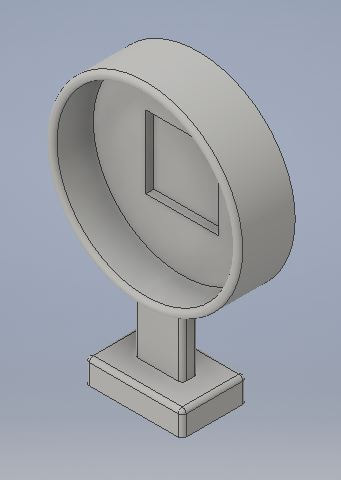
This is my final clock design, made in Inventor.
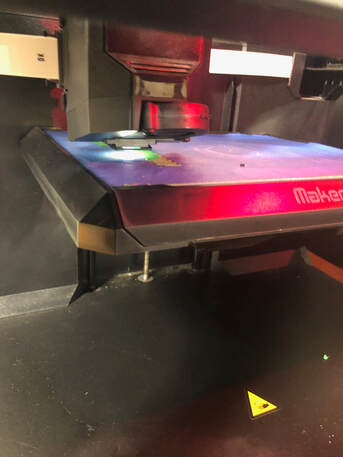
My clock base starting to print.
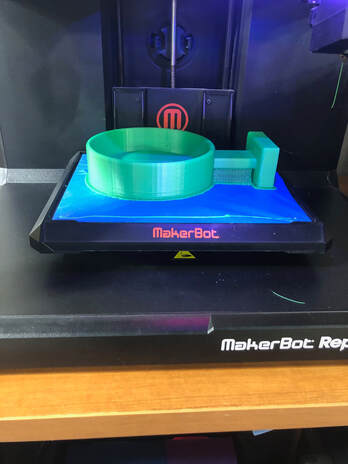
The clock base has finished printing, Next I will create the clock wheel.
This is my the final clock wheel, made in Inventor.
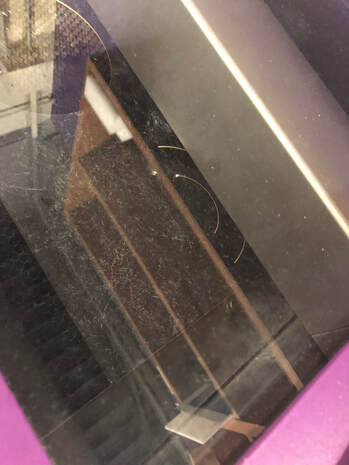
When creating my clock wheel, I started by grabbing some mat-board and using the laser to engrave and cut out the wheel itself.
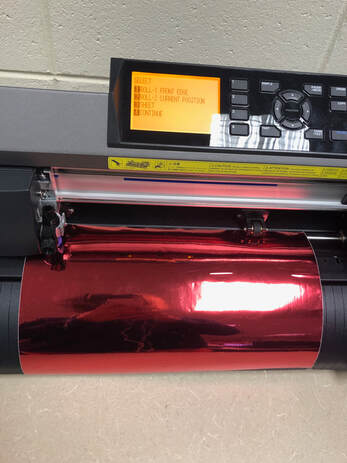
After my clock wheel was finished, I loaded vinyl into the vinyl cutter.
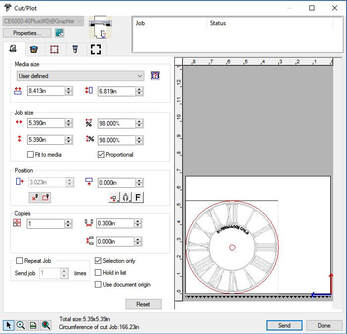
I imported my project into the vinyl cutting software and I was set to cut out the decal.
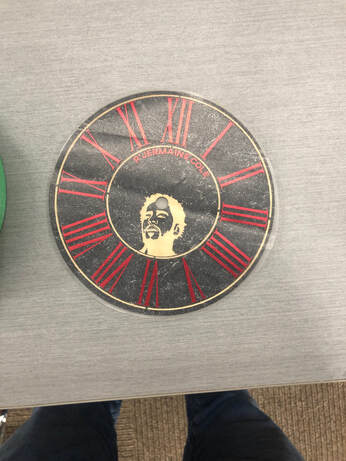
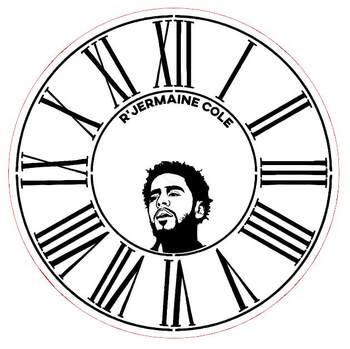
This is the finished clock wheel. I had to lay the vinyl down carefully, so the clock would read the correct time.
|
|
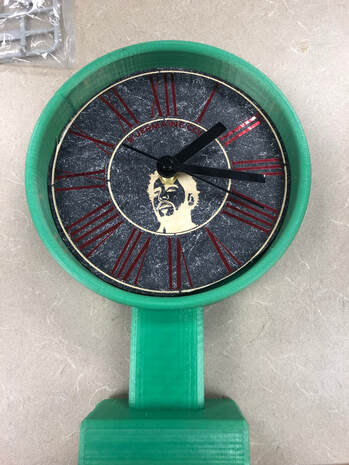
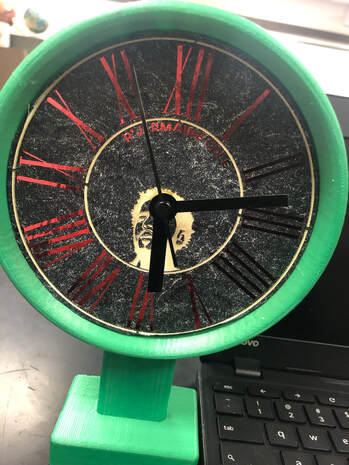
This is the finished clock!
Summary
I learned a lot during this final project. The clock really tested my creativity because we had to create everything besides the clock parts. It is cool to see how I visualized something in my head and created it. I also challenged myself, because I did not look for any inspiration on this project. All in all, I am very happy with what I have learned during this project and I am more confident with what I can create in the Innovation Center.
