|
What is Illustrator?
|
Adobe Illustrator is a vector graphics editor developed by Adobe Inc. Adobe Illustrator is a program used by both artists and graphic designers to create vector images. These images will then be used for company logos, promotional uses or even personal work, both in print and digital form.
Illustrator Projects
Key Chain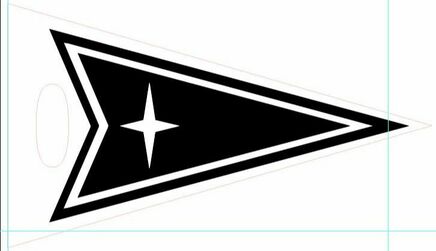
I designed a Pontiac key chain in Illustrator, to go on my key-ring.
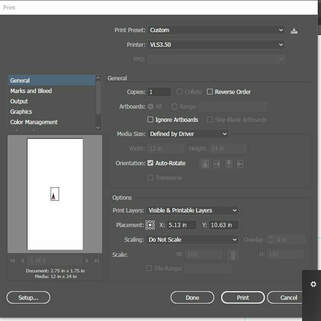
The first step for cutting out and engraving your key-chain is to hit print in the Illustrator menu. Then this menu pops up and you will either select the "VLS3.50" or "VLS6.60" printer. After this step you want to hit the "Setup..." button, and that will open up a new window. After the window opens hit the "Preferences" button.
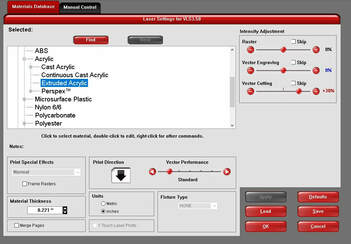
When you click the "Preferences" button, this opens. For this key-chain, we used Extruded Acrylic. You can find this by clicking Plastic-Acrylic-Extruded Acrylic. Then use a dial caliper and determine the thickness of your material in inches. You will enter your material thickness in the "Material Thickness" box. After entering your thickness hit okay. It will bring you back to the "Preferences" window. Hit print and then in the Illustrator Print tab hit print again. Then you can go ahead and minimize your Illustrator and open the UCP software.
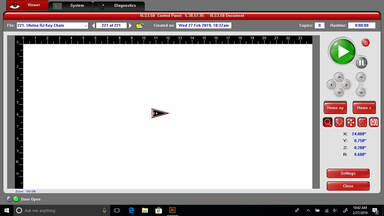
When you open the UCP Software, you should see your key-chain in the work space. Then you want to align your acrylic piece with one of the corners.
If you use the second button in from the left (the button that looks like a cone), then you can click anywhere in your work space and the laser will move to that point. You want to click in the corner that you put your acrylic in. Then you can make sure the laser will print on the material. Refer to the image below. After getting the laser aligned with the acrylic use the move tool (middle button) to move your key-chain design onto the acrylic. Finally, you can close the laser and hit the green play button.
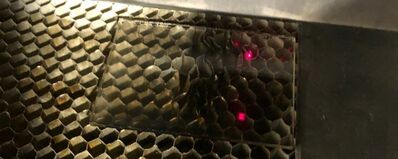
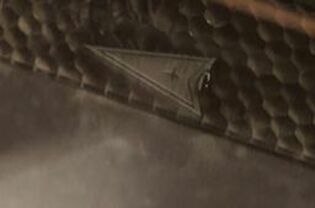
Now you wait while your object is printing, in this picture my key-chain is almost done printing.
Final Product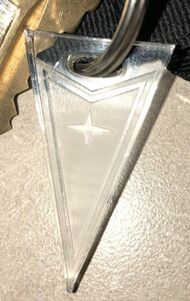
|
Vinyl Decal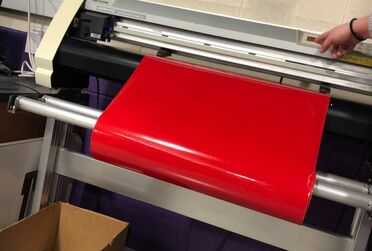
When loading vinyl into the vinyl cutter, you have to lift the wheels, line up the edge of the vinyl with the guide (it should be right under the rollers. You can also use as many colors as you want but to identify our class from the others we used red.
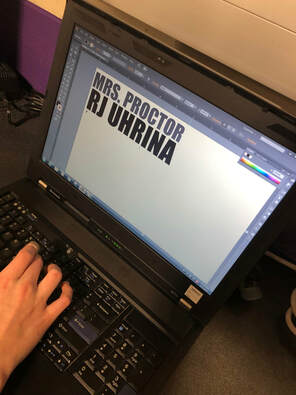
We made our names 6 inches long, the appropriate size for our Designer Notebooks. Using the text tool I typed my name, then resized it to approximately 6 inches and then you right click and hit "Create Outlines."
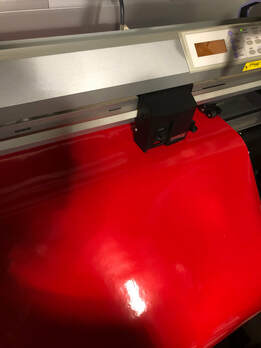
After all of our names were created in one illustrator file, we printed our names on the vinyl.
After your vinyl is printed cut out around your vinyl decal. Next you want to remove any holes in your letters for example the hole in an A or an R. You can use a dental tool for this step. After that, you want to cut out a piece of transfer tape and lay it on top of your decal. After laying it on top of your decal you want to use a squeegee to allow the transfer paper to do its job. Next you are going to want to take off the transfer paper slowly and your decal will come off with it. Then you want to line up your transfer tape with the bottom of your notebook and you use the squeegee to apply the decal to the notebook.
The Final Product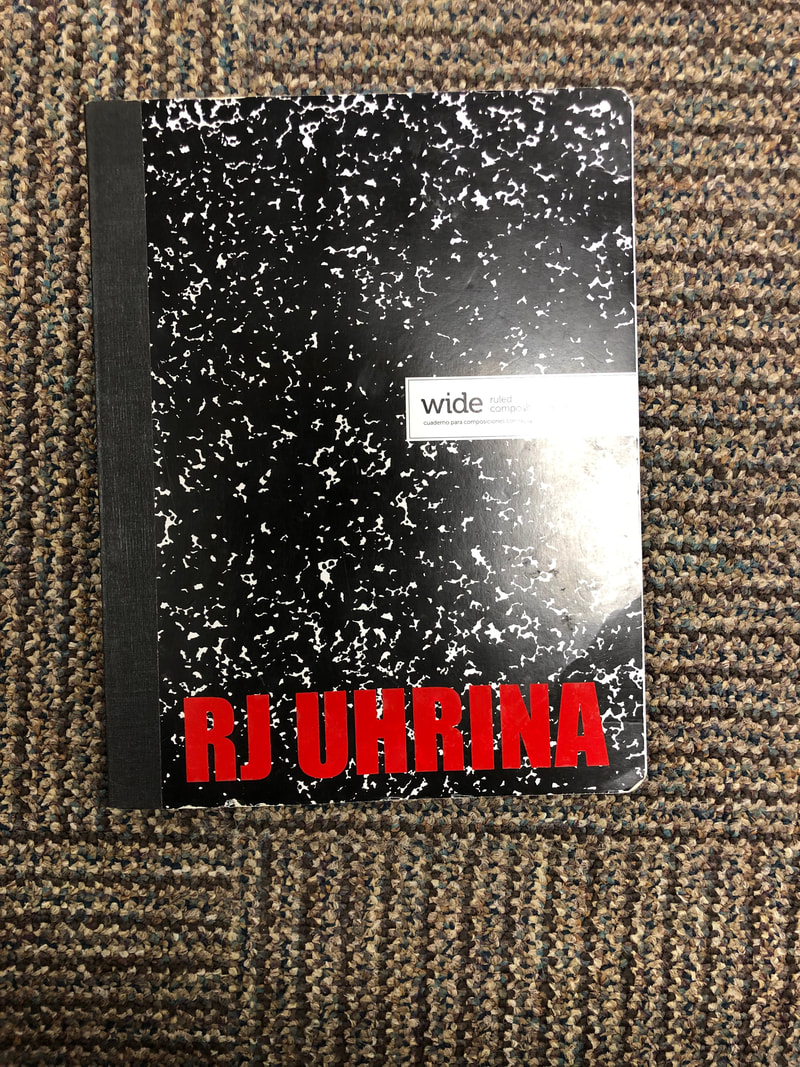
|
Summary
I have worked with Illustrator many times before but I did not know that you could create anything from it. I learned that instead of just creating an image in Illustrator and leaving it, you have to make sure the design will work when printed. I ran into a little of trouble with my key-chain, I made the key-ring hole way too small and it melted shut. That made me rethink my design and go back to Illustrator to fix it.
